SERVICE MANUAL
  Applies to: Hyundai Coupe/Tiburon 1998-2000
GROUP
Transaxle/Transmission Automatic Transaxle System
Return to Main Menu(s):      Mechanical Manual      Electrical Manual

REASSEMBLY 
CAUTION
Do not reuse gaskets, oil seals and rubber parts. Replace them with new ones at every reassembly. The O-ring of the oil level dipstick need not be replaced.
Do not use grease other than petrolatum or industrial vaseline. Apply automatic transaxle fluid to friction elements, rotating parts, and sliding parts before installation. Refer to page 104 concerning automatic transaxle fluid. New clutch discs should be immersed in automatic transaxle fluid for a minimum of two hours before installation.
Do not apply sealer or adhesive to gaskets. When bushings must be replaced, replace their complete assembly.
Do not use shop towels during disassembly and reassembly operation. The oil in the cooler should also be replaced.
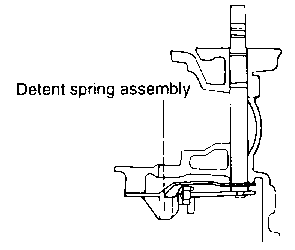
  1. After installing the detent spring assembly and the sprag rod assembly on manual control shaft, insert manual control shaft into transaxle case and push it fully toward manual control lever. At this time, do not install the O-ring (large one of two O-rings) on manual control shaft.

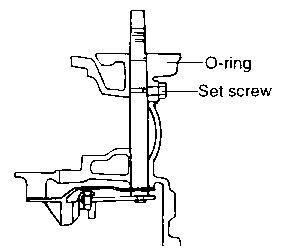
  1. After installing the new O-ring on manual control shaft, draw shaft back into case, then install set screw and gasket.

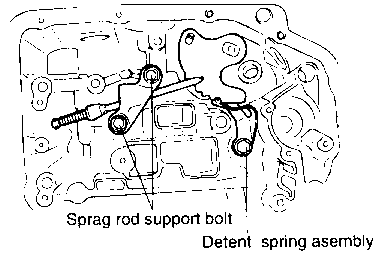
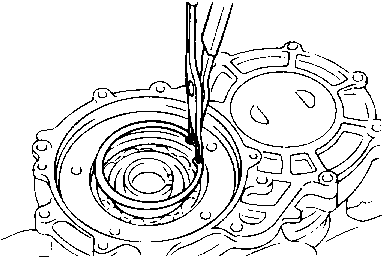
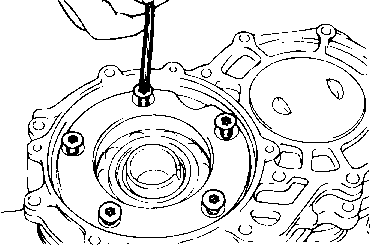
  1. Install the sprag rod support and tighten two bolts. Install the washer and tighten the bolt of the detent spring assembly.

    TORQUE SPECIFICATION
    Sprag rod support bolts 20-27 Nm ( 200-270 kg·cm, 15-19 lb·ft )
    Detent. sprag assembly bolt 10-12 Nm ( 100-120 kg·cm, 7.5-8.4 lb·ft )
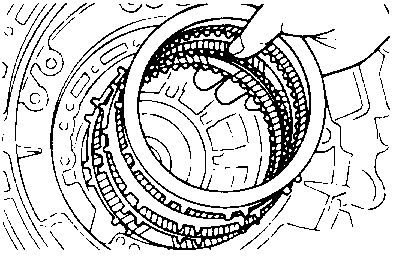
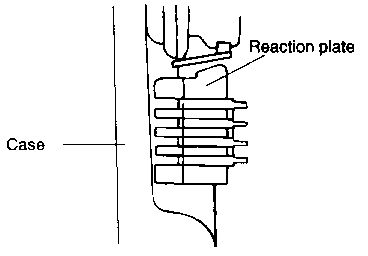
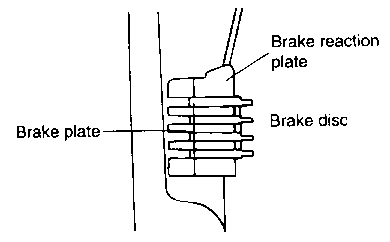
  1. Before assembly of the transaxle, measure the end play of the low-reverse brake, and select a pressure plate to be used so that the end play will be the standard value. Install the brake reaction plate, brake plate and brake disc to the transaxle case.

    CAUTION
    If new brake discs are used, be sure to immerse them in ATF for a minimum of two hours.
  1. Install the appropriate pressure plate and then install the return spring.

    CAUTION
    Be sure that the return spring is installed so that it faces in the correct direction.
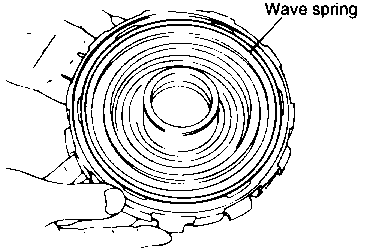
  1. Apply a coating of petroleum jelly to the wave spring and attach it to the center support.

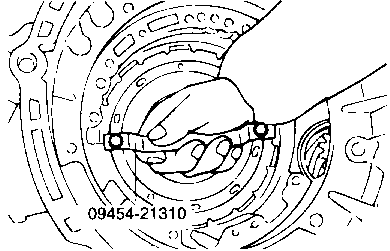
  1. Install the special tool (09453-21310) to the center support.

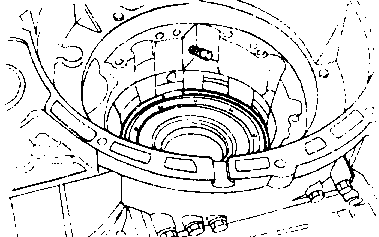
  1. Install the snap ring.

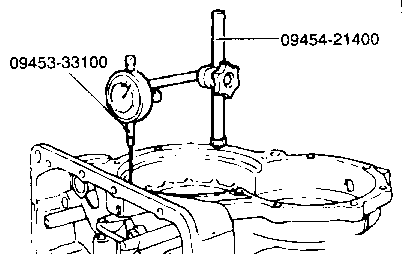
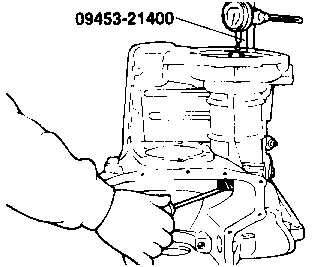
  1. Install the special tools (09454-21400, 09453-33100) and a dial gauge at the rear side of the transaxle case.

    CAUTION
    Install the dial gauge so that it contacts the brake reaction plate at a right angle from the transfer idler shaft hole.
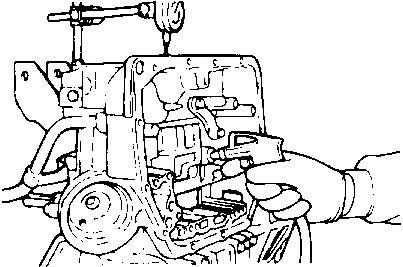
  1. Using a manual pump, pump air (5 kg/cm 2 ) in from the position shown in the illustration. Read the dial indicator gauge, and select the pressure plate that will provide the standard value.

    MEASUREMENT SPECIFICATION
    0.975-1.287 mm ( 0.038-0.051 in )
    MEASUREMENT SPECIFICATION
    Pressure plate 5.7-7.0 mm
  1. After selecting pressure plate, remove center support, brake plate brake disc, brake reaction plate and pressure plate.

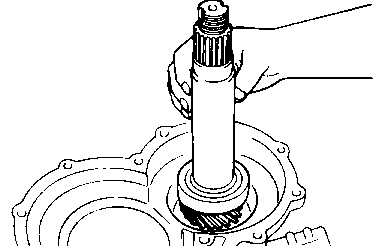
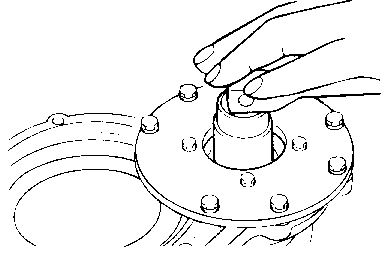
  1. Install the transfer shaft, and press-fit the bearing outer race to the transaxle case.

  1. Install the transfer shaft snap ring.

  1. Insert the spacer on the transfer shaft.

Return to Main Menu(s):      Mechanical Manual      Electrical Manual

REASSEMBLY (continued) 
  1. Install the bearing cage on the case.

  1. Press-fit the transfer driven gear to the transfer shaft.

  1. After installing the special tool at the transaxle case, tighten the lock nut to the specified torque.

    TORQUE SPECIFICATION
    Transfer lock nut 200-230 Nm ( 2000-2300 kg·cm, 146-166 lb·ft )
  1. After installing the dial gauge, measure the end play of the transfer shaft: then select the spacer(s) needed to obtain the standard value, and refit.

    MEASUREMENT SPECIFICATION
    Transfer shaft end play 0-0.06 mm ( 0-0.002 in )
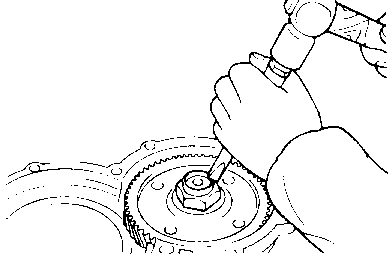
  1. Using a punch, lock the lock nut to prevent rotation.

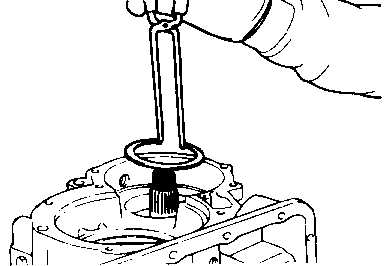
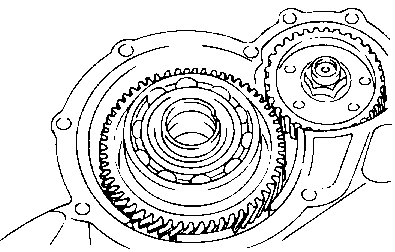
  1. Install the transfer drive gear assembly.

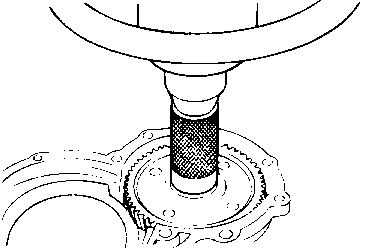
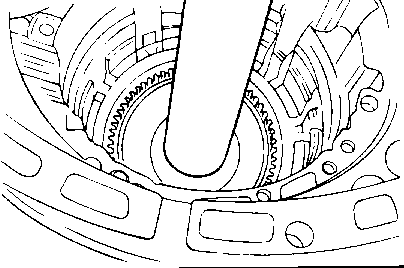
  1. Using the special tool, insert the assembly of the annulus gear into the transfer drive gear.

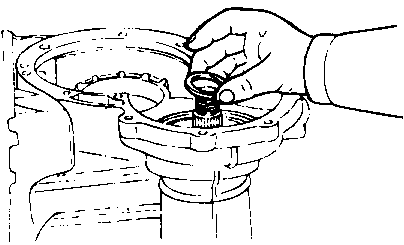
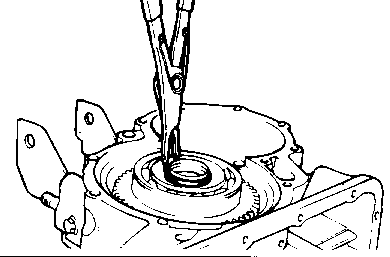
  1. Install the stopper plate and snap ring.

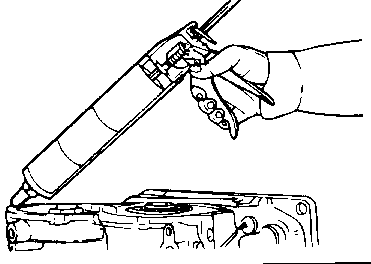
  1. Apply specified sealant to the rear cover.

    Specified sealant: THREE BOND 1216

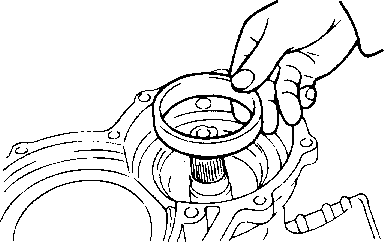
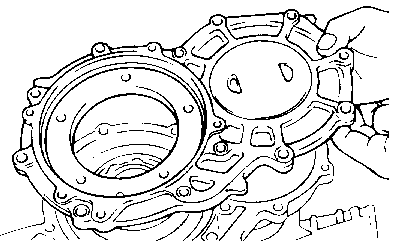
  1. Install the rear cover assembly.

    TORQUE SPECIFICATION
    Rear cover 17-22 Nm ( 170-220 kg·cm, 12.3-15.9 lb·ft )
  1. Install snap ring.

  1. Install the bearing retainer. Tighten the screws to the specified torque. Apply a 5 mm (0.2 in.) width of sealant (3M Stud Locking No. 1303). Sealant should not stick out of screw head.

    TORQUE SPECIFICATION
    Screw 17-22 Nm ( 170-220 kg·cm, 13-15 lb·ft )
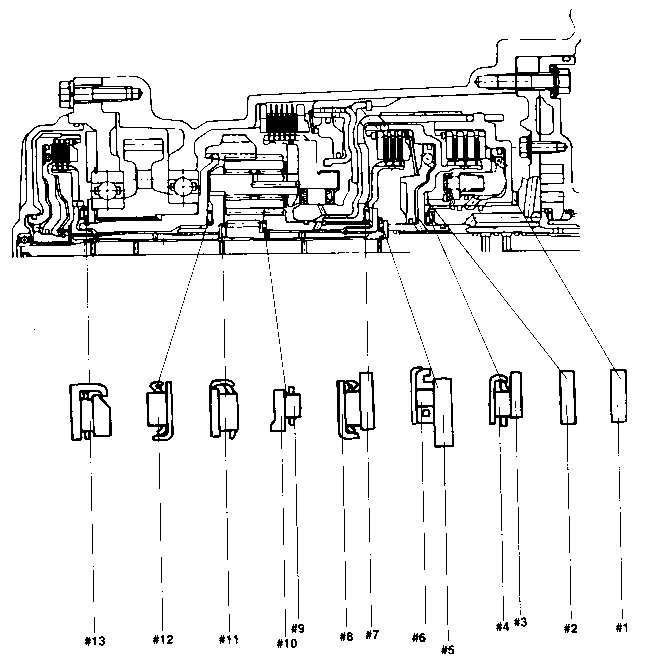
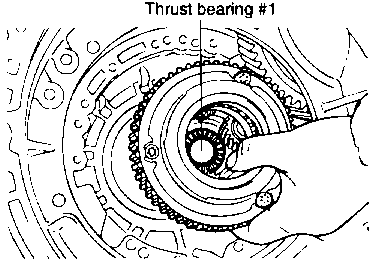
IDENTIFICATION OF THRUST BEARING, AND WASHERS
No
Name
Outer diameter
Inner diameter
Thickness mm (in.)
1
Thrust washer
70 (2.756)
55.7 (2.193)
1.4 (0.055)


1 .8 (0.071)


2.2 (0.087)


2.6 (0.102)
2
Thrust washer
70 (2.756)
55.7 (2.193)
1.8 (0.071)
3
Thrust washer
48.9 (1.925)
37 (1.457)
1.0 (0.039)


1.2 (0.047)


1.4 (0.055)


1.6 (0.063)


1 .8 (0.071)


2.0 (0.079)


2.2 (0.087)


2.4 (0.094)
4
Front clutch bearing
48.1 (1.88)
34.4 (1.354)
-
5
Thrust bearing race
40 (1.575)
21 (0.827)
2.4 (0.094)
6
Rear clutch bearing
42.6 (1.677)
28 (1.102)
-
7
Thrust bearing race
54 (2.216)
38.7 (1.524)
1.6 (0.063)
8
Bearing
52 (2.047)
36.4 (1.433)
-
9
Planet carrier bearing
41 (1.614)
28 (1.102)
-
10
Thrust bearing race
39 (1.535)
28 (1.102)
1.2 (0.047)
11
Planet carrier bearing
38 (1,496)
22.2 (0.874)
-
12
Bearing
52 (2.047)
36.4 (1.433)
-
13
End clutch bearing
58 (2.283)
44 (1.732)
-
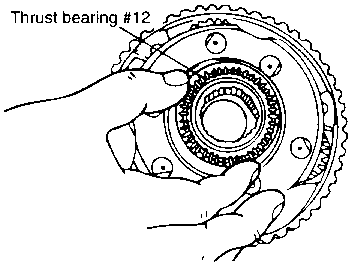
  1. Apply a coating of petroleum jelly to thrust bearing #12 and attach to the planetary carrier.

  1. Install the planetary carrier to the case.

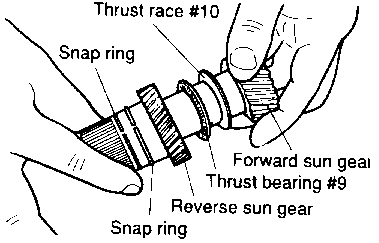
  1. Assembly the reverse sun gear and the forward sun gear in the following order.

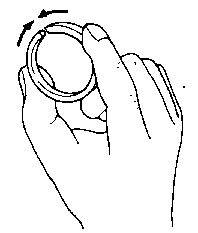
    1. Attach the seal ring and the snap ring to the reverse sun gear. When attaching, squeeze the seal ring as shown in the figure.
    2. Attach thrust #9 to the forward sun gear.
    3. Attach thrust race #10 to the forward sun gear.
    4. Assemble the reverse sun gear, and then the forward sun gear.