Page
last edited Wednesday, 17-Apr-2013 18:37:34 BST
HowTo: Engine Removal on a
Hyundai Coupe
(You can see my other 'HowTo' guides here)
I've removed the engine from my Evo as I'm breaking the car for spares
(both to sell and to support my new F2) and I thought I'd take some
photos along the way in case they're of interest/inspiration to anyone
else.
First things first, my task was very much one-way i.e. I had no
intention of putting the engine back in... or at least that was the
plan! Given how well this Evo engine runs I'm actually tempted to put
it in my F2 now that I know what the task entails as it is possibly in
better condition despite having done twice the mileage - that's the
payoff with regular maintenance! Anyway, what I was going to say was
that if you were doing a straight engine swap there are some
differences such as not having to remove quite so many components, and
also making sure you take lots of photos showing things like cable loom
runs. You would also benefit from labelling up every connector so you
know where it plugs in to - there are a lot of identical looking plugs
on these cars!
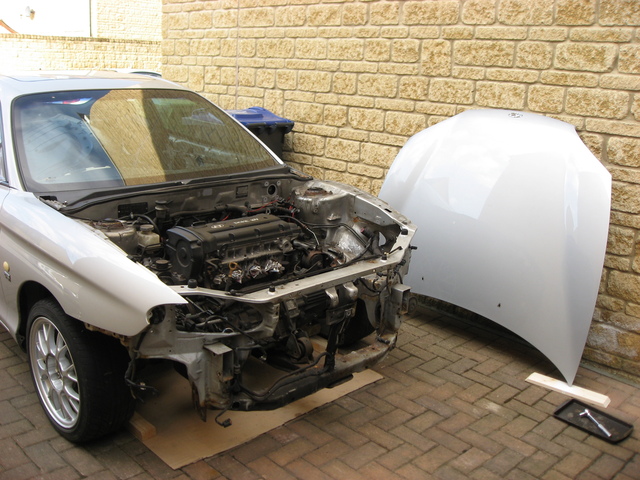
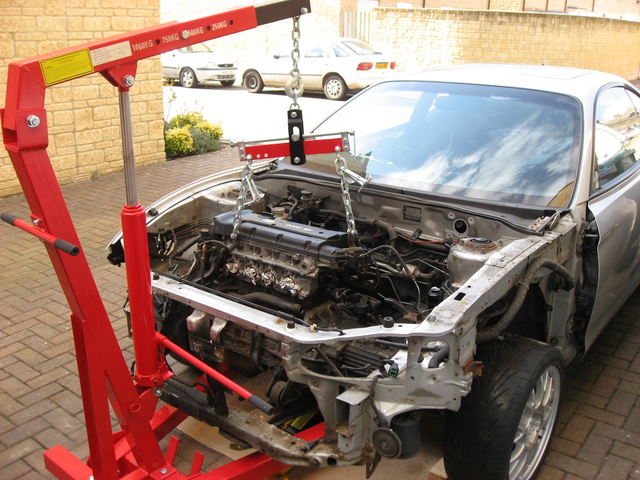
So, here we go... Firstly you'll need to remove the bonnet because
otherwise the engine hoist won't have enough height clearance.
There are four bolts to remove to do this and whilst it is cumbersome
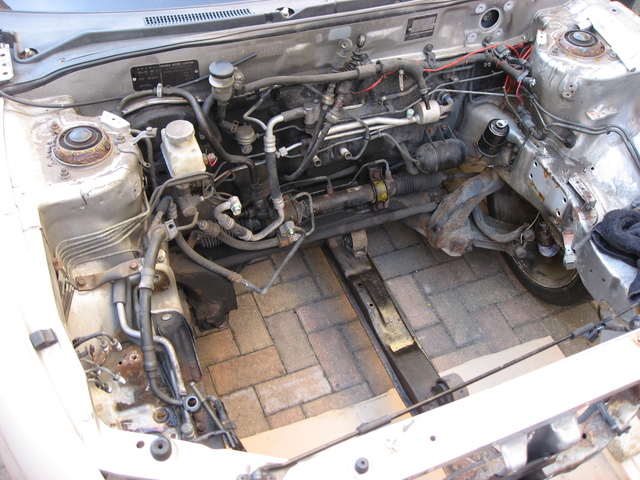
it is possible to do this on your own. Next up we've got the prepared
engine bay:
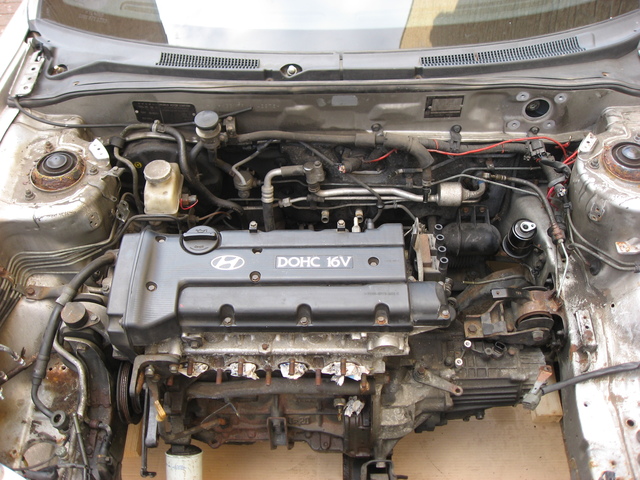
I removed most of the ancillaries - intake/exhaust manifolds, power
steering pump, aircon compressor, clutch slave cylinder, battery tray,
radiators/fans and related cable looms. You could leave many in situ if
doing a swap and indeed some like the aircon compressor you'd have to
leave connected, albeit unbolted, otherwise you'd need to refill the
system afterwards. Because mine was a one-way task as mentioned I had
the 'luxury'(?!) of being able to remove everything - and I wanted to
recover many of the parts for sale/spares anyway. I'd also recommend
removing the bumper, not only for clearance (underneath - I think you'd
be fine reach-wise with a decent crane) but also given how fragile it
is - a suspended engine is a pretty hefty pendulum and it'd be all to
easy to knock into the bumper and cause damage!
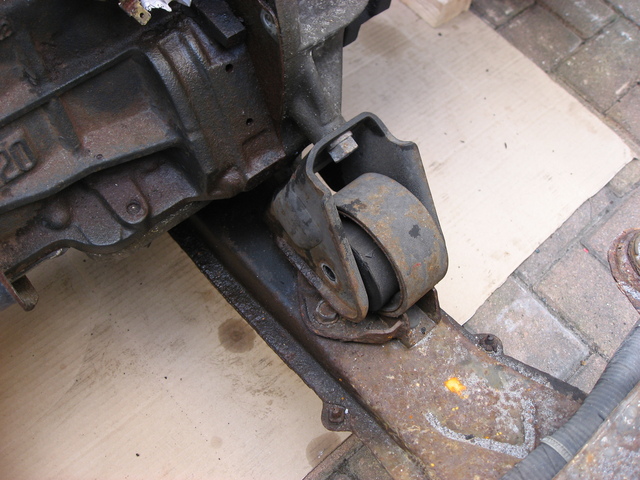
Next up you need to loosen the engine mounts. The first being at the front:
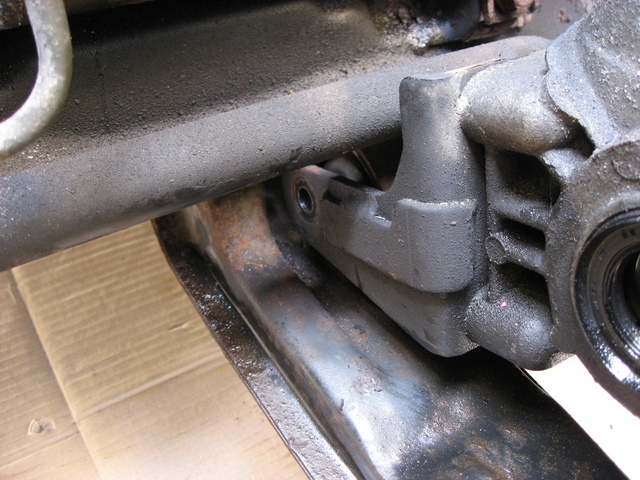
Completely remove this bolt - it's quite safe to do so. Next up is the similar one at the rear:
Again, completely remove the bolt. The engine will now be sitting on
the support beam whilst also being suspended from the upper mounts.
Speaking of which, here's the next one on the left hand side (looking
from the front):
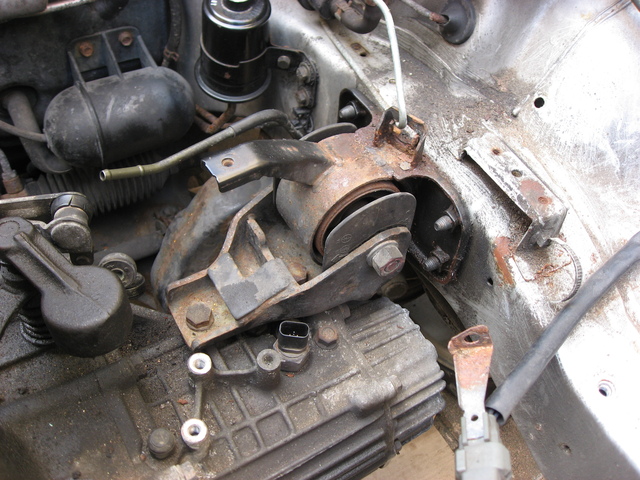
Loosen this bolt but [b]don't remove it yet![/b], not until the hoist
is connected up in a couple of steps. On to the right hand side mount
(looking from the front):
I opted to remove the engine with the gearbox still attached. This
required the extra step of previously removing the driveshafts. If you
were doing an engine swap you might want to keep the gearbox in to save
this extra effort, but then you've got the issue of separating the
engine/gearbox in situ and, more pertinently, the issue of lining it up
again afterwards! I think it's worth pulling the lot to be honest. If
doing this, you'll need to actually [i]remove[/i] the right hand engine
mount (not just remove the centre bolt) otherwise it will foul the
gearbox on the way up - or at least that's what I suspect would happen.
The mount is bolted in to the sub frame by bolts that are accessible
from the wheel arch behind some rubber plugs:
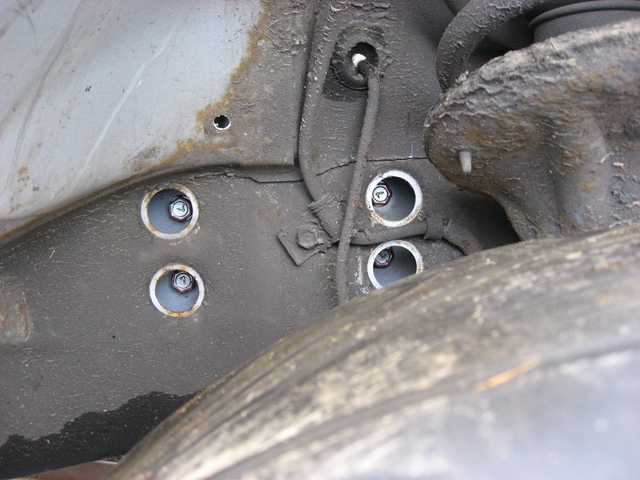
I cracked these bolts loose but, again, [b]didn't remove them yet![/b].
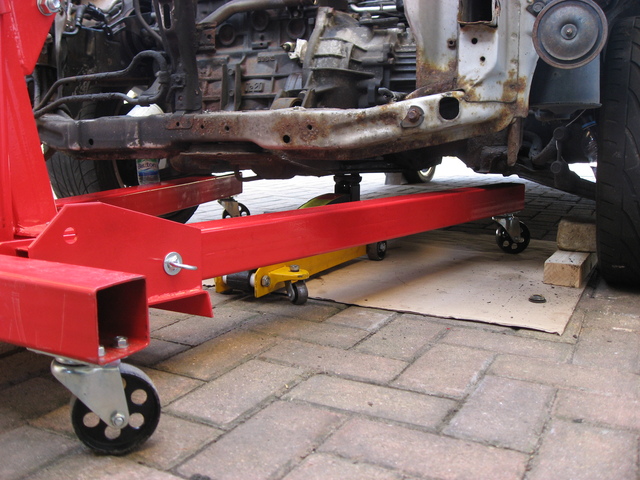
With the two remaining engine mount fixings ready to be pulled it is
time to push the crane in. The legs of my crane were too high to fit
under the wishbones and so I had to jack the car up at the front ever
so slightly to allow it to slide under:
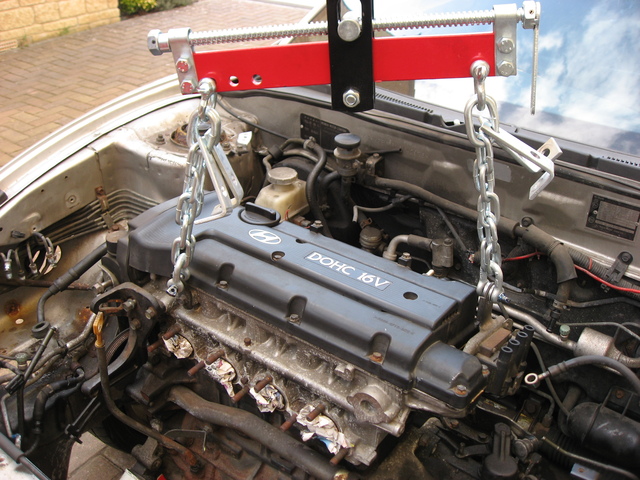
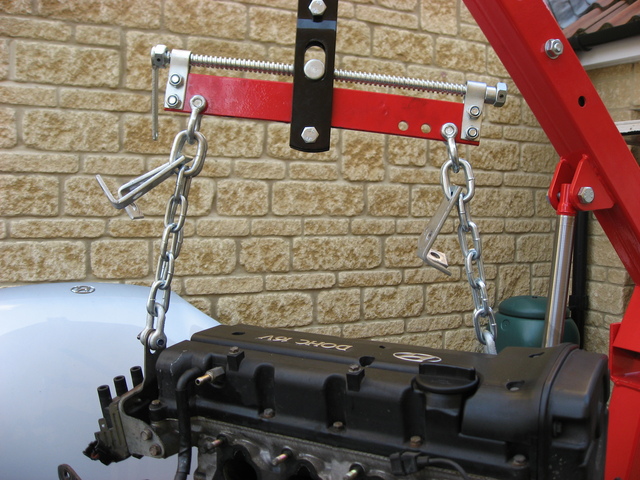
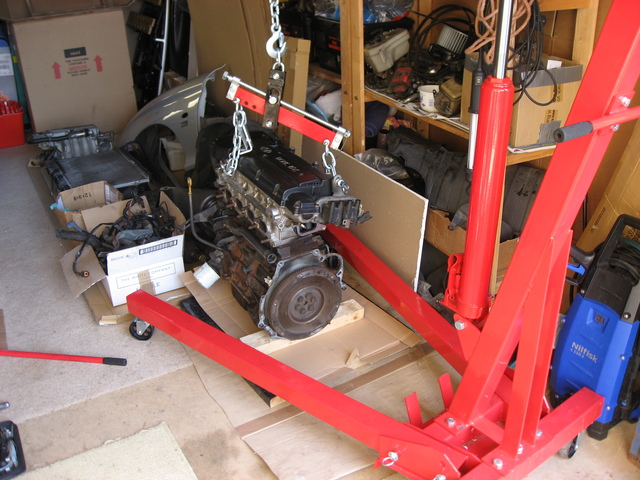
With the crane in place it could be connected up:
The lifting brackets can be found on the front-left of the block
(dedicated bracket) and rear-right (the bracket that holds the ignition
coil):
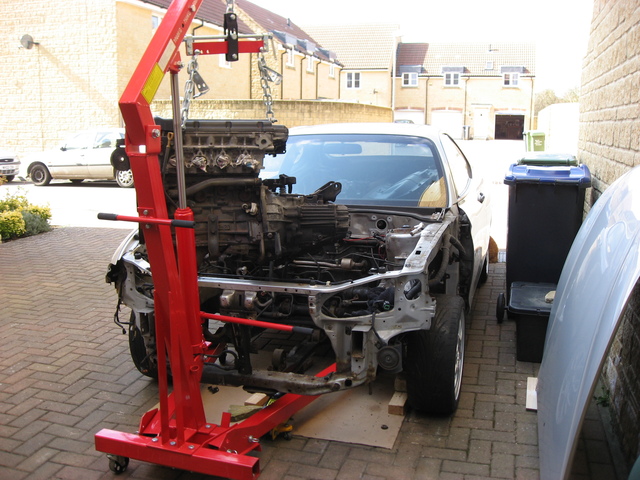
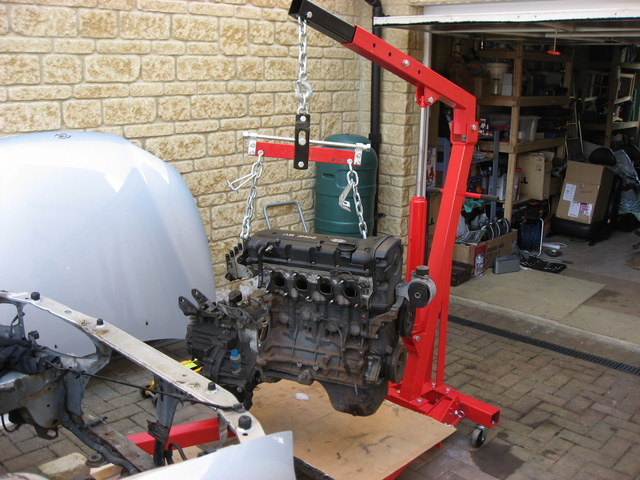
With the crane jacked to take the tension you can now remove the
remaining engine mount bolts! Once done, a few pumps of the handle and
she'll be free!
Note that despite the weight of the gearbox and the off-centre mounting
positions the engine remains dead level. This is thanks to the load
leveller:
You can slide the pivot point along to keep everything balanced - I'd
highly recommend it, not only for the this benefit (it'd be
particularly useful when putting the engine back in) but also because
it makes attaching the engine to the crane an absolute doddle.
With the engine in the air I opted to push the car back out of the way
after removing the jack undearneath - without an engine in the car will
sit high and thus won't foul the crane legs anymore). I did this rather
than pull the crane back because I was working on a block paving drive
which is not the best for moving metallic wheels around with a hefty
load in the air!
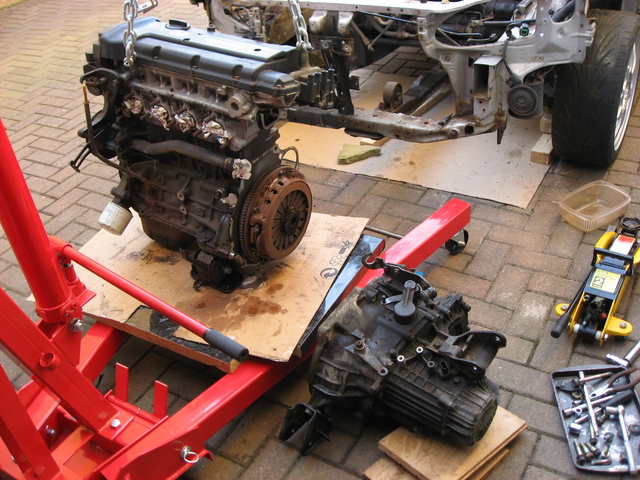
So, with the engine clear of the car you're left with something of a void!
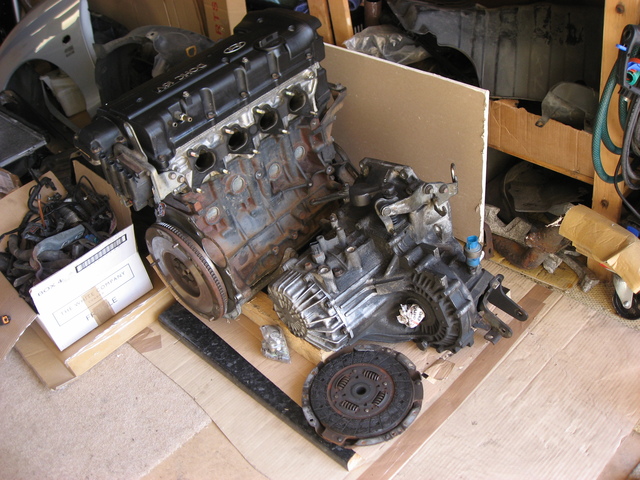
I carried on to split the gearbox from the engine - note that to do
this you need to remove the clutch lever [b]completely[/b] as the
clutch release fork will be wrapped around the clutch bearing and stop
you from pulling the gearbox away otherwise. Gearbox now removed:
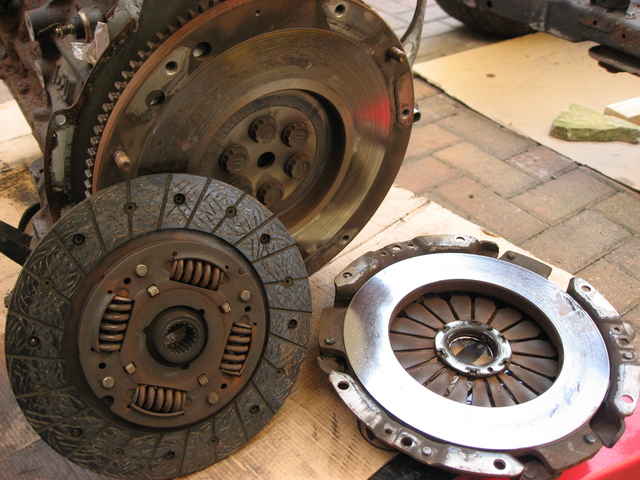
Next up is the clutch which I decided to also remove. To do this you
need to first remove the clutch bearing by pushing the spring clip
apart. As always there's a 'special tool' for this but I just used a
couple of small screwdrivers and a bit of patience! Unfortunately I
didn't take a photo showing exactly how (obviously not patient enough!) but here's the
clutch once removed:
Not bad condition given it's been in from new and has done nearly 170k
miles! Again, look after an engine and it'll look after you! ;-)
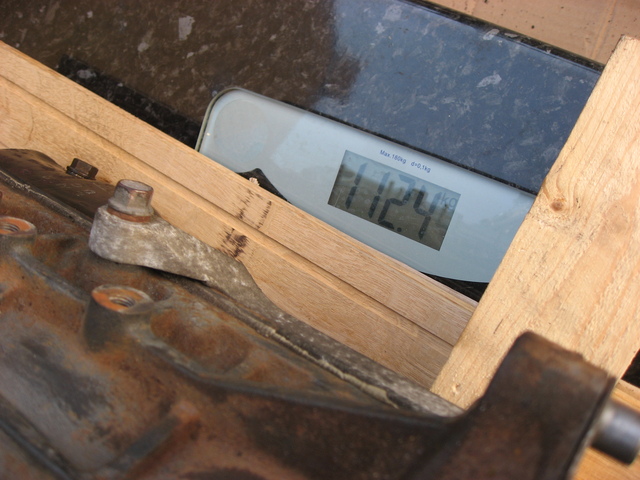
With the engine, gearbox and clutch split I was curious to see how
heavy they all were so whilst the wife wasn't looking I nicked the
bathroom scales... First up the engine itself:
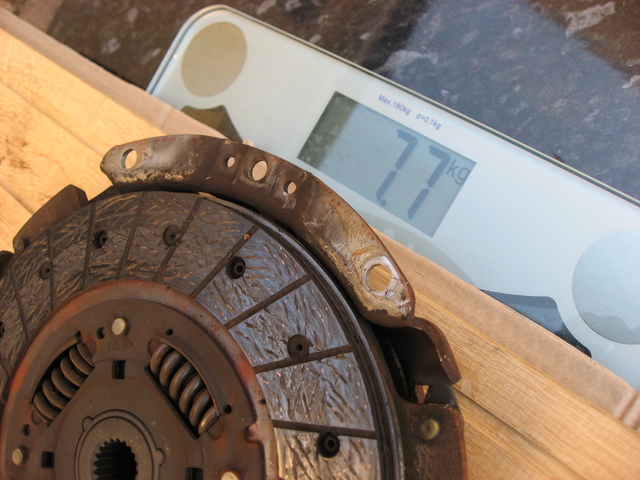
112kg (without most of the ancillaries remember). Then the clutch:
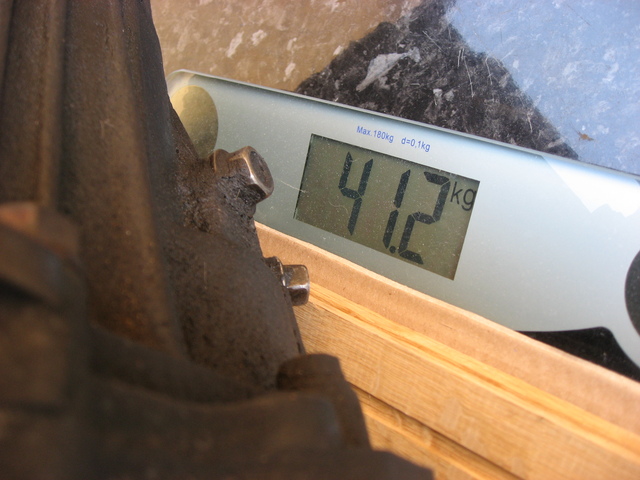
This came in at nearly 8kg. Finally the gearbox at 41kg:
So it was a total of around 160kg, and obviously well within
the 1 tonne crane limit (I actually had it on the 750kg reach setting
for convenience).
That's pretty much it really! Time now to wheel the engine out of the way:
To be joined by the rest of the bits...
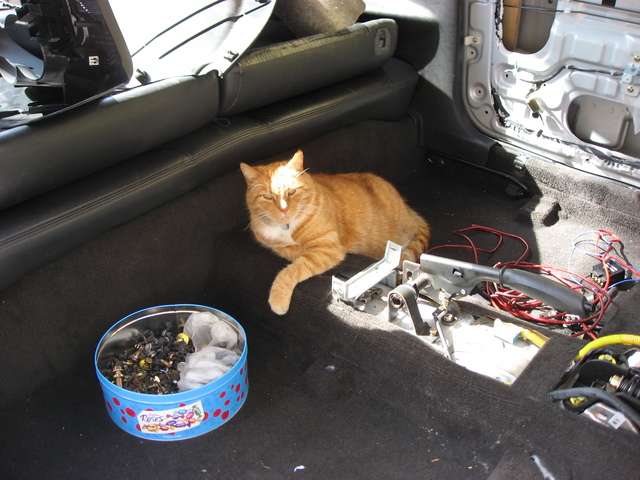
All-in-all
it wasn't that difficult a job, and certainly something you can do
without an assistant which is lucky given mine had found a comfy spot
early on:
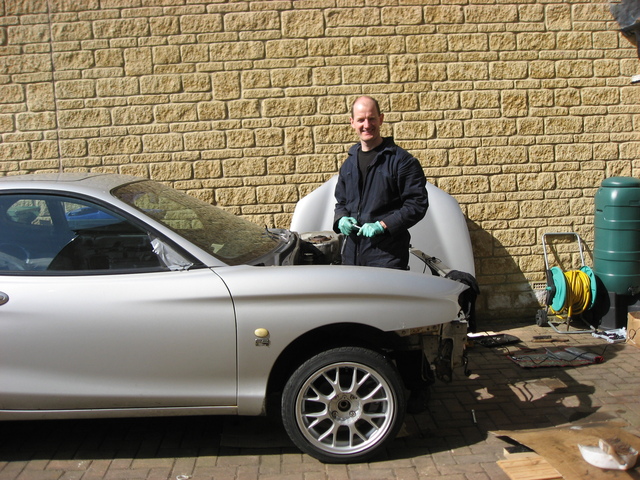
Finally, if there's one unexpected advantage to removing your engine
it's that there's no more leaning over when changing the wiper blades!
3,284,311
Visitors
(since Apr 2003)

© 2002-2026 Mathew Newton
Unless otherwise stated, all content on this site is licensed under a Creative Commons Attribution-Non-Commercial-ShareAlike 3.0 Unported License
Any reproduction/reuse of content must comply with this license and be attributed to Mathew Newton
If you're human, don't click here, here or here